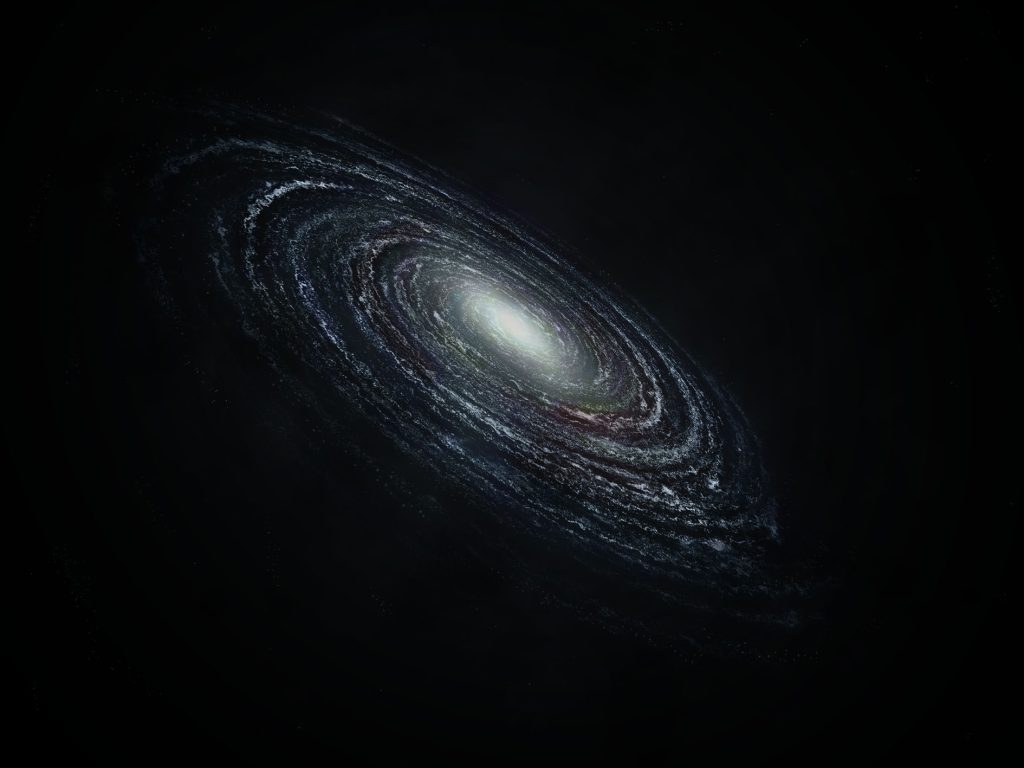
A concept of a spiral galaxy using Photoshop.
This image was made from scratch using what is available as standard within Photoshop. Using the render fibers option, then masking and manipulating various layers, I created the base spiral for the galaxy. Using transform tools I pulled it into a more interesting perspective and started adding color using a mask to control where the colour applies.
Subsequently, I then created a glow from the center, slowly fading that glow out as it spread across the image. For this I started using a soft brush. For the many dots and stars within the galaxy. I used a brush and increased the scattering and size scattering to apply a randomized effect of tiny stars throughout the image. In order to inform my judgements in this area as my experience was novice, I used an online guide – How To Create a Galaxy in Photoshop. I used the basic principles explained within the video. It showed me how to used the User Interface and how to locate necessary aspects within the User Interface. It explained how to successfully use filters to create random and distorted shapes. It introduced the skills of creating new brushes which thereby had an effect on my designs as it allowed me to create randomised or select patterns. As a result, the work developed new textures and effects which added realism and randomisation to the galaxy created.
To develop this design further, it would could be beneficial to edit the values to see if it could the image looks better in different lighting, giving the image different properties and uses.
ThatsQehzy. (2018) How To Create a Galaxy in Photoshop. Online Video: Youtube. https://www.youtube.com/watch?v=tgrIOPlhIPc&ab_channel=ThatsQehzy.